Creative expression through arts and crafts is so important for young and curious children. It is also a great way to boost their self-confidence. Drawing and colouring is a great outlet for children and is an excellent way for them to spend their time in a productive and mindful way. Now, although art calls for freedom and no rules, learning anything takes a certain amount of guidance.
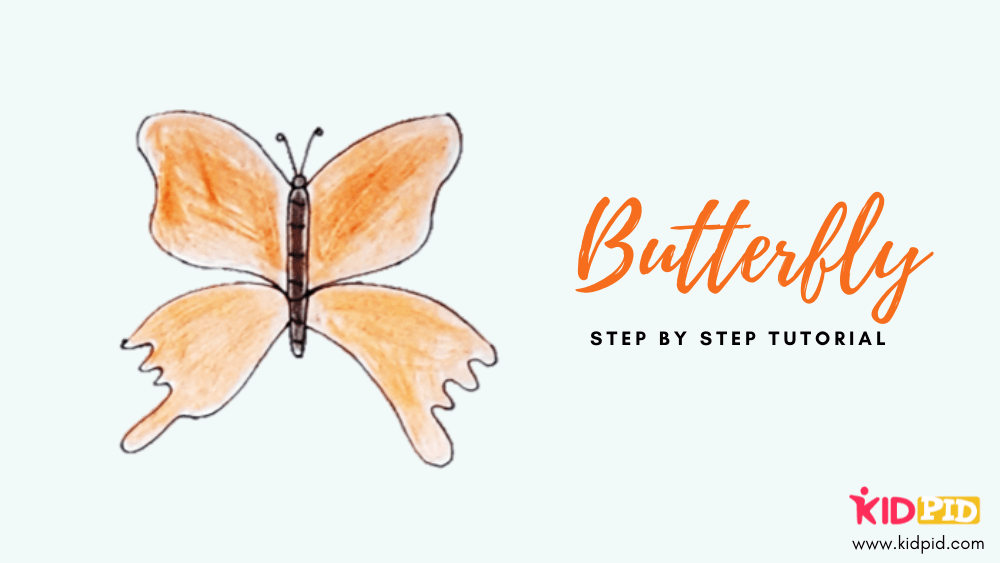
Butterflies are fascinating and colourful creatures that pique the minds of young children and grown-ups alike. Wouldn’t it be wonderful to be able to draw these beautiful creatures? That is exactly what this worksheet is for. Through some simple steps and tips, even beginners will be able to draw the beautiful and magnificent butterfly of their dreams! Being able to create or make something that makes children feel happy and proud of themselves is crucial in developing their self-confidence. So, let’s get started!
Contents
How To Draw A Butterfly for Kids – Step by Step Tutorial
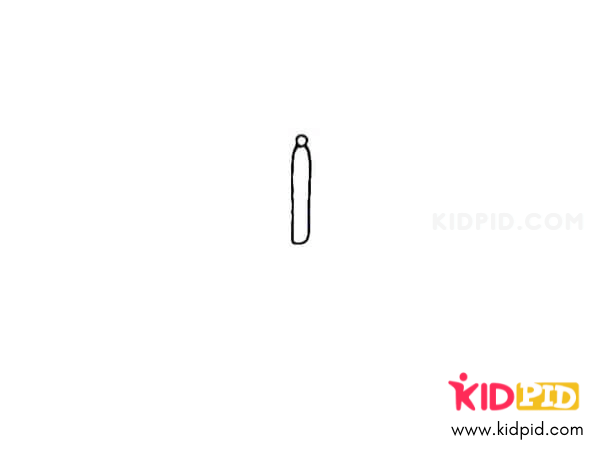
Step 1:
Let’s start by drawing a small circle for the head of the butterfly. After that, draw a small cylinder for the body of the butterfly. You can draw this in a single stroke or two – there is no wrong way! Try to keep the lines as straight as possible for a symmetrical body.
Step 2:
Now, starting from the connecting point between the head and the body, draw two outward curves. These are a part of the wings so try to make them as similar to each other as possible.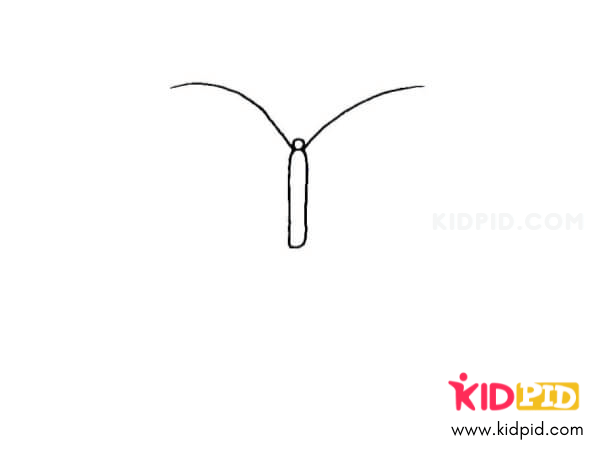
Step 3:
Draw from the end of the previously drawn curves. Now, you can draw them wavy (as shown here) or in a more circular shape depending on how you want your butterfly’s wings to look.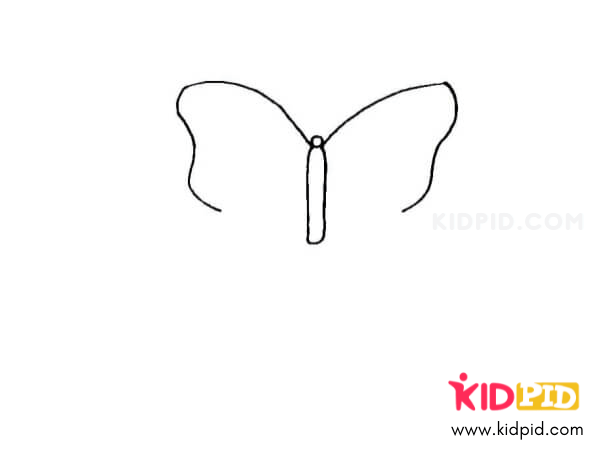
Step 4:
Once, you’ve drawn the shape of your wings, connect it to the body.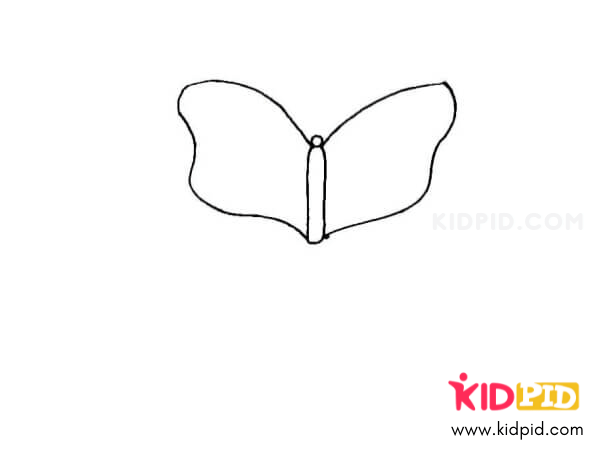
Step 5:
Now, let’s move on to drawing to the next segment of the butterfly’s body. It is similar to the first segment but only slightly smaller.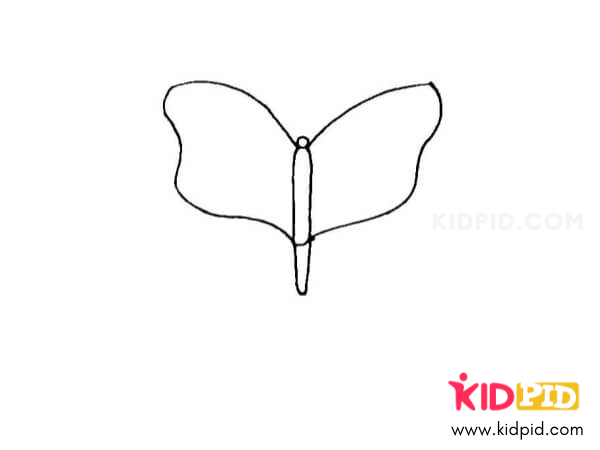
Step 6:
Draw two outward curved lines starting from the point connecting the second segment of the body to the first segment. Make the lines as big or as small according to how you want your butterfly to look.
Step 7:
Now complete drawing the wings by drawing the curvy lines and connecting to the end of the second segment of the butterfly’s body.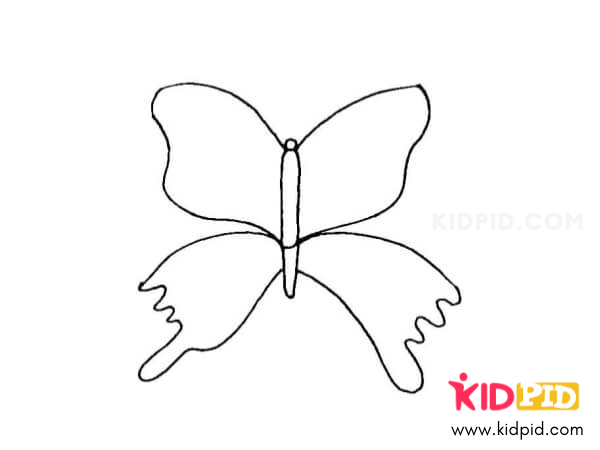
Step 8:
We’re almost done! Draw a few stripes on the body and give the head a pair of antennae to complete the drawing.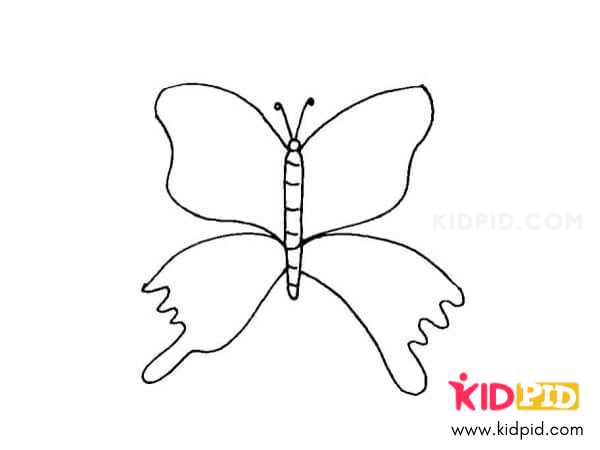
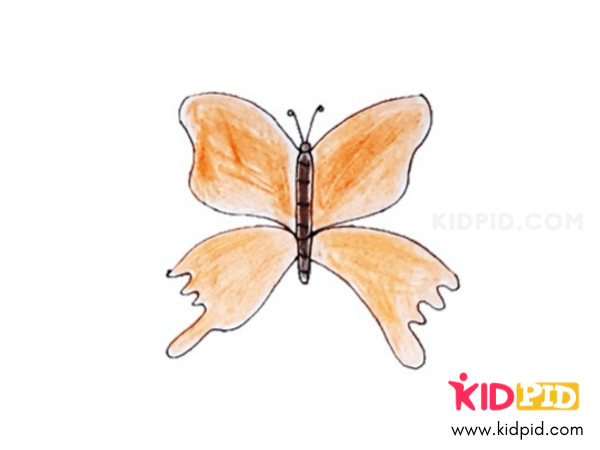
Final Step:
Finally, colour your butterfly with bright and beautiful crayons or even watercolours!
Drawing with step by step direction will help children learn the basics of drawing and create a beautiful drawing by themselves. So what are you waiting for? Download, print and get started on your fun activities today!