
25 December is a day full of joy and happiness among everyone. Children are the most passionate about it. We have tried our best to bestow them with some various marvellous, easy, simple, DIY craft projects for this fest. As we all know that the main centre of attraction for Christmas is our big old fat SANTA, so we have discussed all activities regarding Santa.
Our practice is to provide you with the most unique yet easy and inexpensive DIY ideas. Let’s impress everybody especially Santa by making these creative projects at home with the help of our parents or elder siblings or our friends.
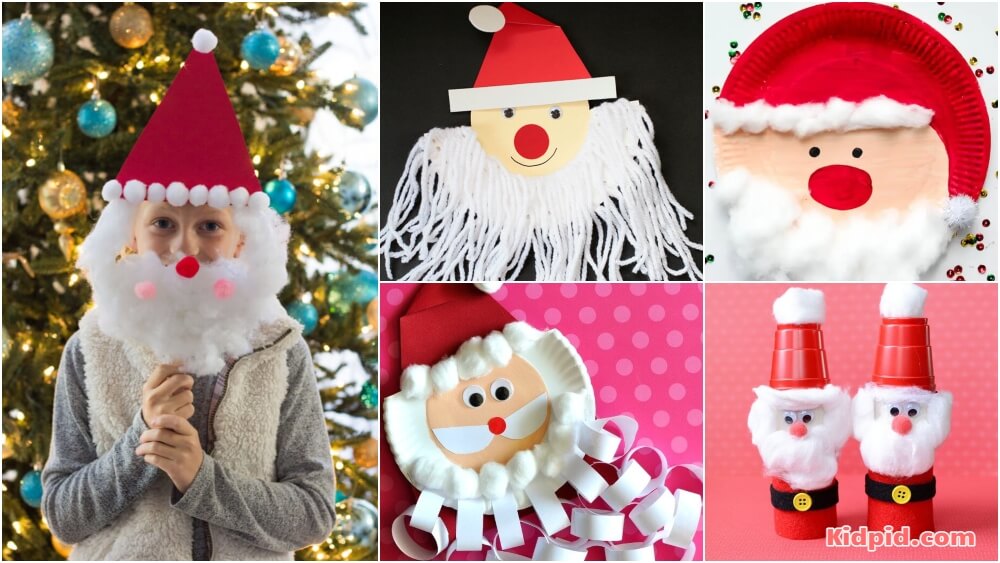
Santa Crafts for Kids
Santa Mask

Image Source/Tutorial:design improvised
- Materials required: Cardboard, Scissors, cotton, glue, cutter.
- Difficulty level: Easy
- Suitable age: 10- 12 years
Take a cardboard piece and cut it so that the shape of Santa’s face is formed. Now paste the cotton around its beard using glue. With the help of the cutter, make a space at the centre from where we can place our eyes.
Pair of Santa
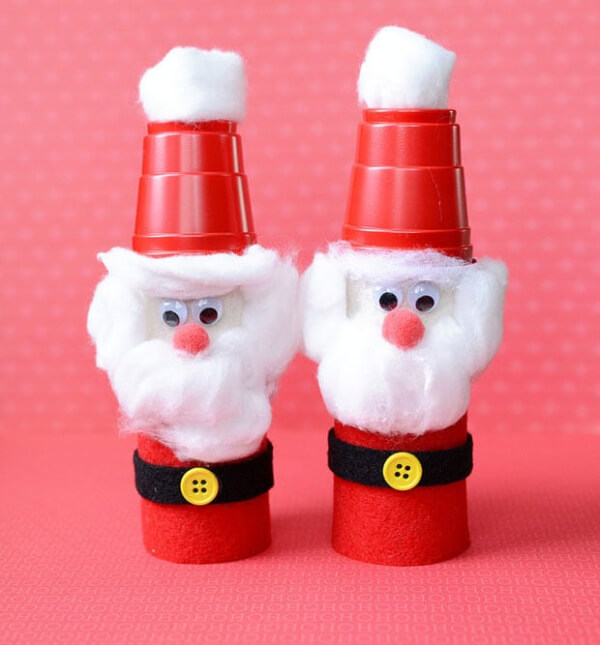
Image Source/Tutorial: cbc
- Materials required: Red disposable cup, pom poms, toilet paper roll, googly eyes, glue, cotton, buttons, the black sheet of paper, scissors, colours.
- Difficulty level: Easy
- Suitable age: 9- 13 years
Take the toilet paper roll and colour it half red and half white. Place a red disposable cup at the top of the toilet paper. Paste googly eyes using glue. Also, paste cotton for beard and hair. Cut a Black sheet of the paper strip and paste button at the centre and tie it around the belly region.
Plate Santa
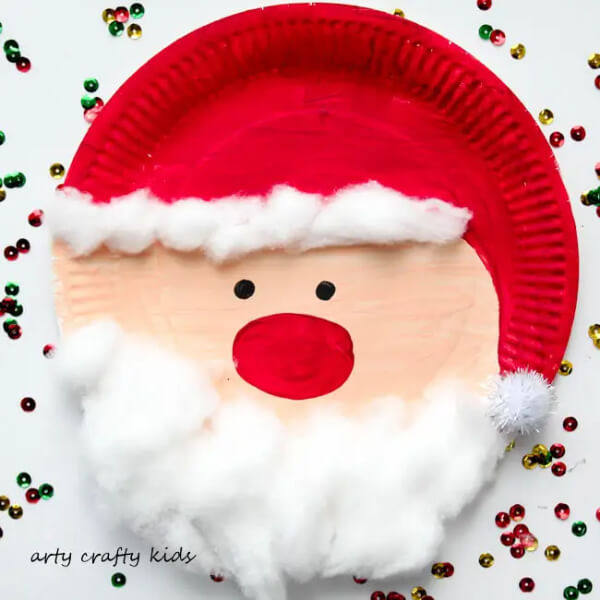
Image Source/Tutorial: artycraftykids
- Materials required: Disposable plate, colours, cotton, glue, pom-poms.s
- Difficulty level: Very Easy
- Suitable age: 8-11 years
Take the Disposable plate and colour it as shown in the image. Paste the cotton for representing hair and beard. Make eyes and nose at the centre using colours. Add one pom-pom at the corner to represent the pom-poms of Santa’s hat.
Curly Beard Santa
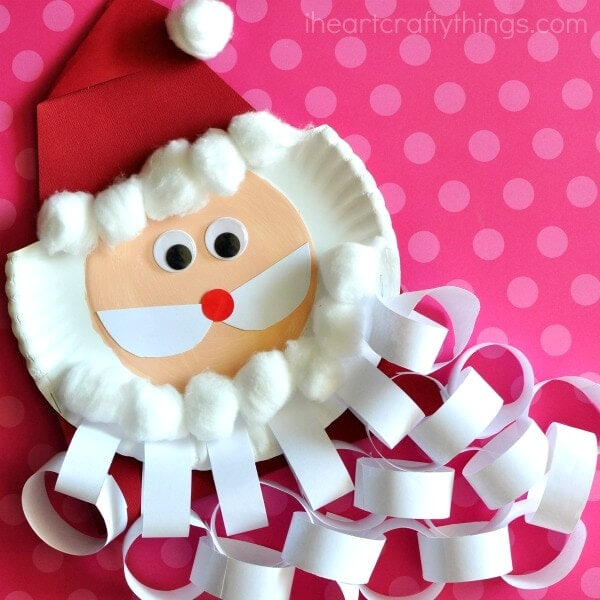
Image Source/Tutorial: iheartcraftythings
- Materials required: Disposable plate, scissors, pencil, colours, glue, red fabric
- Difficulty level: Easy
- Suitable age: 9-12 years
Take the disposable plate and colour it at the centre with the cream colour. Cut the long paper strips and curl them with the help of a pencil by rolling the paper strip over the pencil and reopening it. First, make a chain of curly papers by joining them with each other then Paste these curled paper strips at the bottom of the plate. Paste cotton, at the beard and forehead area. Paste googly eyes at the centre and make nose and moustaches by cutting them out of paper and pasting them on the plate.
Christmas glove Santa
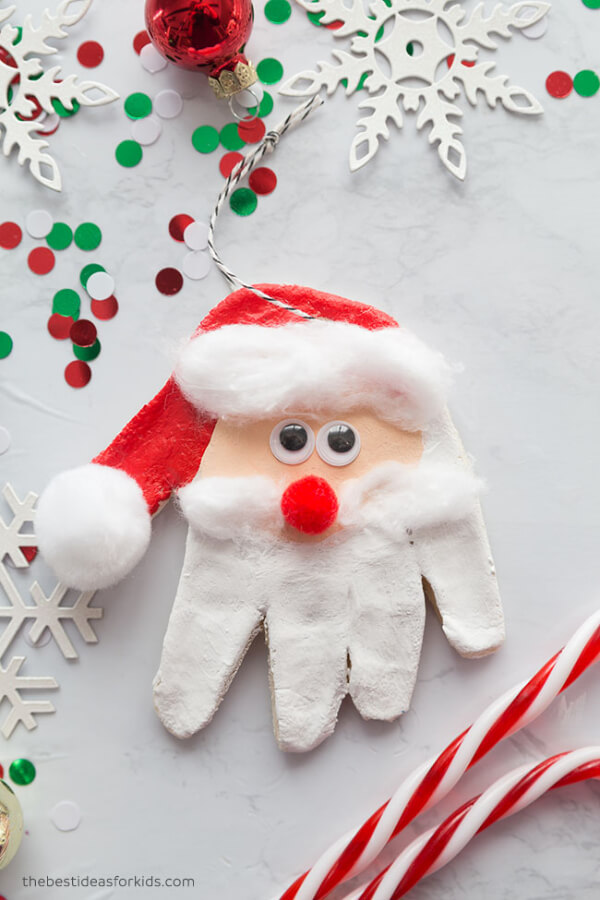
Image Source/Tutorial: thebestideasforkids
- Materials required: An Old glove, Thread, Cotton, Colours, Needle, googly eyes
- Difficulty level: Easy
- Suitable age:- 10-13 years
Take one old glove and paste some cotton over it as shown in the picture. The thumb of the glove will become the hood of the Santa. Paste googly eyes at the centre. With the help of a needle, pass the thread through the gloves at the top. Hang the Santa glove on the tree via thread.
Icecream stick Santa
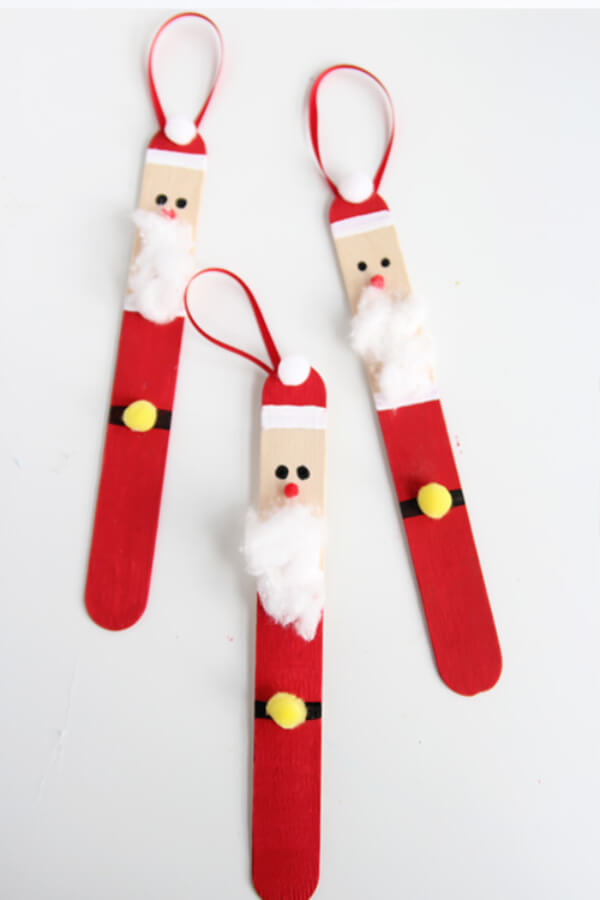
Image Source/Tutorial: one little project
- Materials required: Ice cream sticks, pom pom, colours, ribbons, glue.
- Difficulty level: Very Easy
- Suitable age: 7-10 years
Take Ice-cream strip and colour it red and cream colour as shown in the image. Draw black straps for the belt and eyes on the stick using colours. Paste a pom-pom at the belt area and also at the top. Paste cotton for the beard. Cut the ribbon and make a hook out of it and paste it at the top.
Photograph Santa
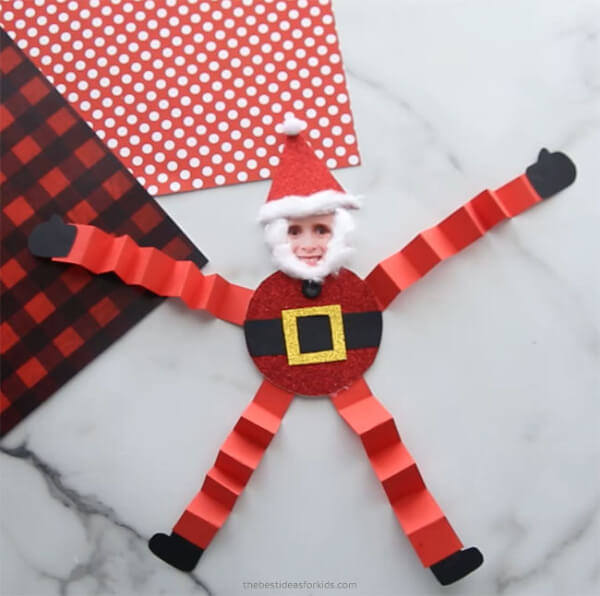
Image Source/Tutorial: thebestideasforkids
- Materials required: Cardboard, photograph, glitter sheets, scissors, Coloured sheets, glue, cotton.
- Difficulty level: Easy
- Suitable age: 9-13 years
Take the glitter sheets and make the body area of the Santa. Now for legs and arms, cut the 4 red sheets of paper strips and fold them as we used to do for making fans. Open the folds of the strip and paste them with the main body of the Santa. For gloves and shoes cut the black sheet of paper and paste them around the hands and feet. Now get the photograph and paste it on a cardboard piece and cut it according to the face shape of Santa. Paste this photograph on the body of the Santa and place the cotton around the face to represent the beard of the Santa. Cut the red sheet of paper in the shape of a hood and paste it over the head. Cotton should be pasted over some regions of the hood.
Yarn Santa
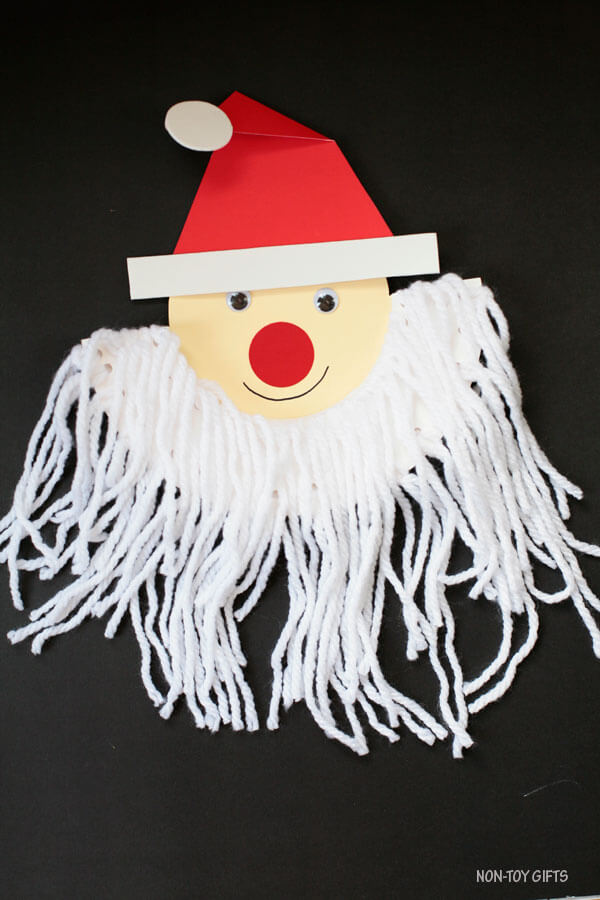
Image Source/Tutorial: nontoygifts
- Materials required: Coloured paper, googly eyes, yarn, glue, marker.
- Difficulty level: Easy
- Suitable age: 9-12 years
Take a coloured sheet and cut it in circle and triangle shape for face and hood of Santa respectively. Also cut a semi-circle shape but having a radius greater than that of the face. Paste this semi-circle below the face. Paste the yarn strands on this semi-circle. Paste the googly eyes and nose at the centre. Draw the mouth using a marker.
Funny Santa
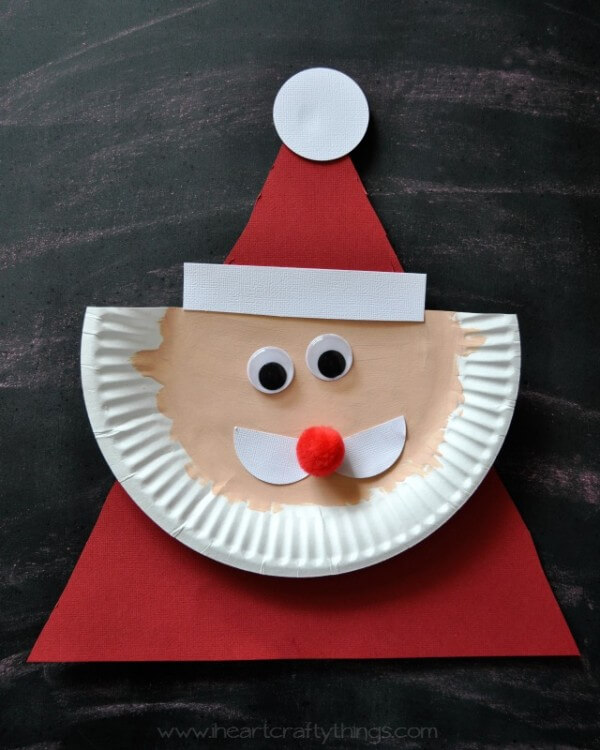
Image Source/Tutorial: iheartcraftythings
- Materials required: Disposable plate, Glue, Coloured paper, Colours
- Difficulty level: Very Easy
- Suitable age:- 10-13 years
Cut the Disposable plate in a semi-circular shape and paint it with cream colour at the centre. Now cut the coloured sheet of paper in a triangular shape and paste this plate over the triangular sheet. Make the nose, eyes, and moustache with the help of paper. Now, paste them on the plate.
Popcorn Santa
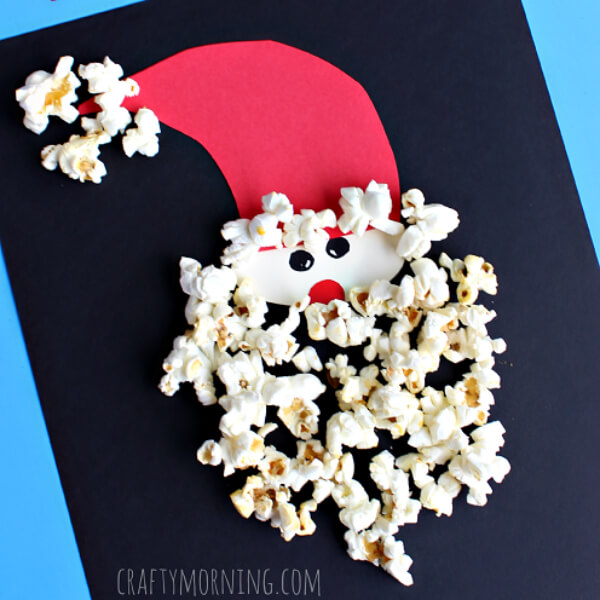
Image Source/Tutorial: craftymorning
- Materials required:Coloured chart papers, Scissors, Glue, Popcorn, Beads
- Difficulty level: Very easy
- Suitable age:- 8-12 years
Take some black chart sheets, paste cream coloured chart sheets of circular shape on them. This part will represent the face of Santa. Now cut a red coloured chart sheet in the shape of the Santa’s hood and paste it at the top of the circular sheet. Cut the coloured paper in such a way to create the lips and nose of the Santa. For eyes use the beads and paste them above the nose. Spread popcorn all over the lower portion to create the bread, and paste it with the help of glue.
Hand impression Santa
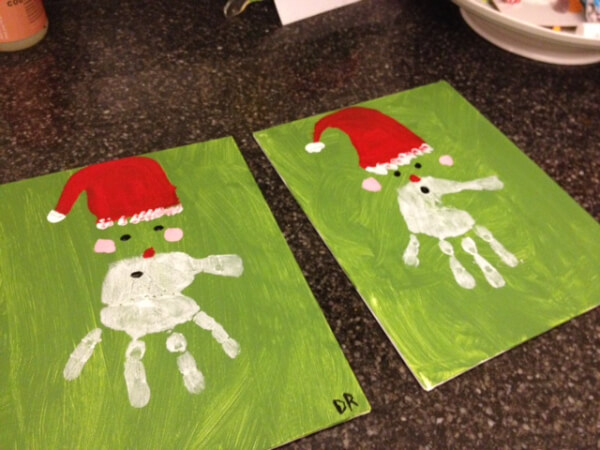
Image Source/Tutorial: pinkwallpaper
- Materials required: Cardboard pieces, colour, Paintbrush.
- Difficulty level: Very Easy
- Suitable age: 5-10 years
Take the cardboard piece and colour it all over with any of your favourite colours. Get your hand and paint it white and trace the impression of your hand on the cardboard piece. Using paintbrushes, draw the other features of Santa eg hat, eyes, beard, cheeks etc.
Santa tree hangings
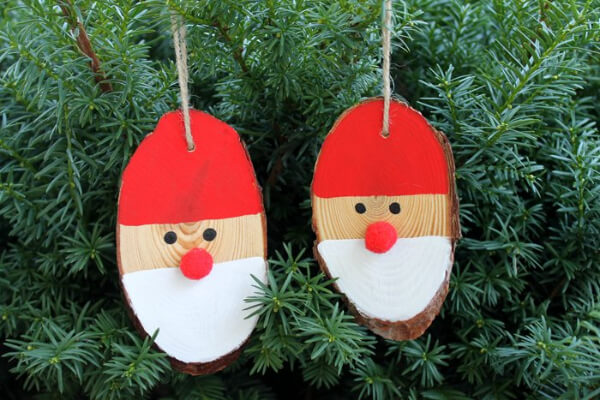
Image Source/Tutorial: thecountrychiccottage
- Materials required: Oval-shaped Wooden blocks, colours, pom-poms, jute string, drilling machine. Glue gun
- Difficulty level: Easy
- Suitable age: 11- 13 years
Take the two oval wooden blocks and colour them half red and half white as shown in the image. With the help of a drilling machine, make a hole at the top of the red area. Pass the jute strand through this hole and this jute strand can be used for hanging it anywhere we want. Using colours draw eyes and paste the pom-pom around the nose region.
Hope this piece of the essay was loved by you all. We wish our readers a Merry Christmas. May this Christmas bring joy and happiness to our lives. Do give feedback in the comment section. Thank you!
You may like these:
Simple Laurel Wreath Craft Ideas for Children
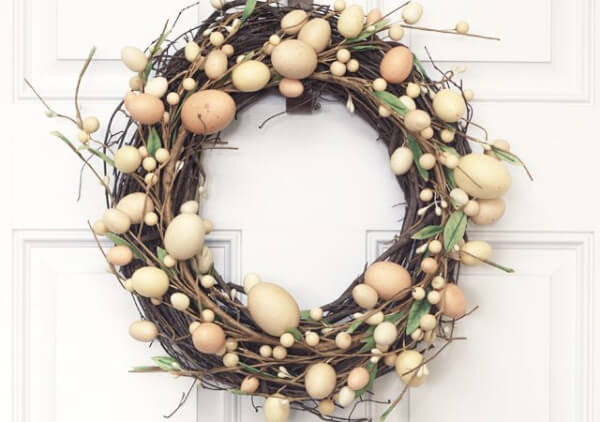
Laurel wreath crafts combine simplicity and creativity, using accessible materials. These projects teach kids about traditions while fostering artistic expression and producing beautiful, handmade decorations
Christmas-Themed Paper Plate Crafts for Kids
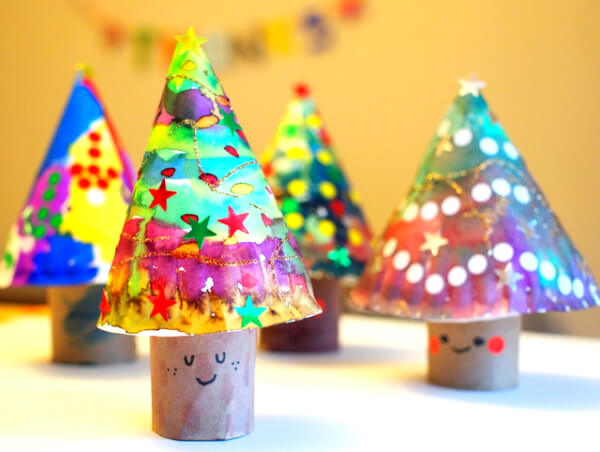
Paper plate crafts offer a fun, eco-friendly way to celebrate Christmas. These easy projects transform plates into festive decorations or characters, enhancing creativity and providing hands-on holiday fun for children.
Popsicle Stick Christmas Craft Projects for Children
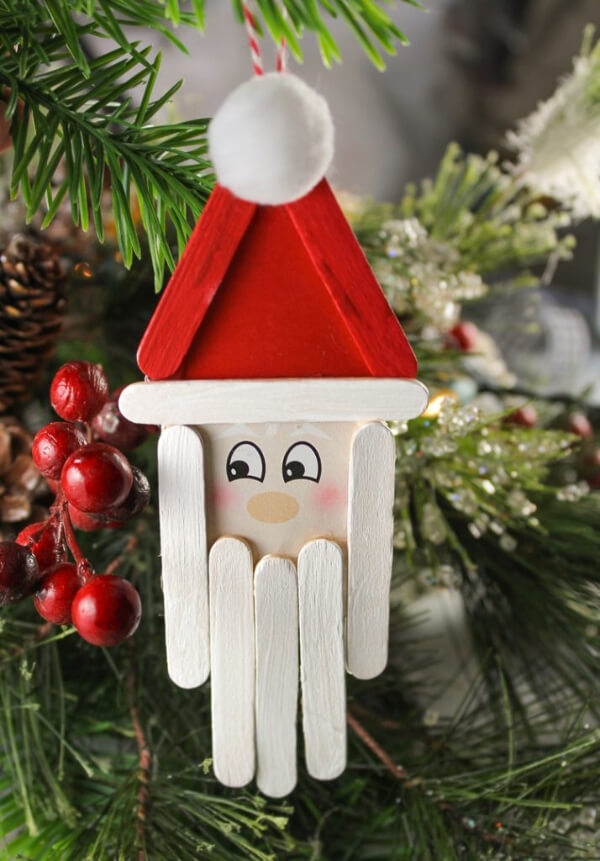
Popsicle stick crafts provide a simple yet creative way to celebrate Christmas. Kids can build ornaments, cards, or decorations, fostering fine motor skills and adding a personal touch to the holiday season.
Unicorn-Inspired Craft Ideas for Kids
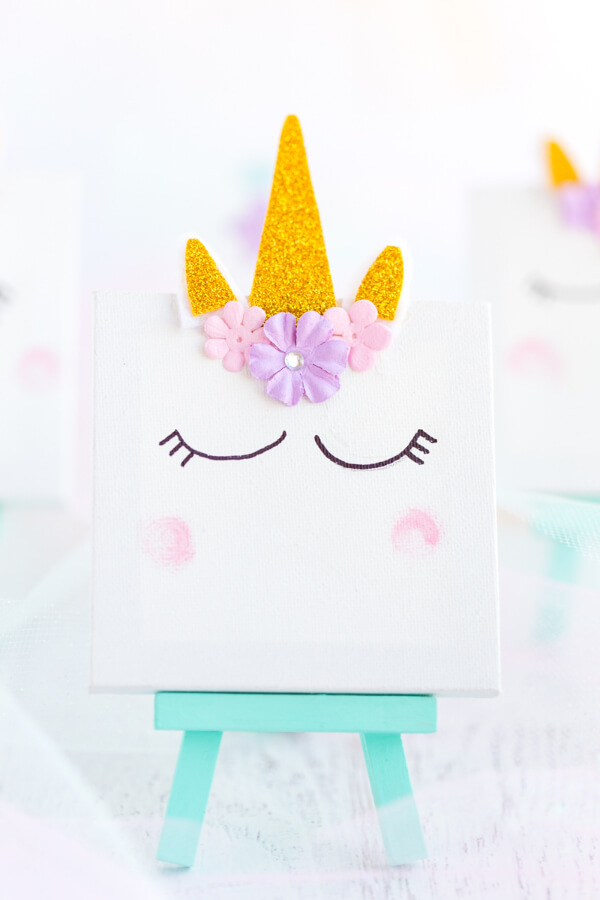
Unicorn crafts spark imagination and whimsy in children. Using vibrant colors and simple materials, these projects inspire creativity, storytelling, and fun while crafting magical, personalized decorations or toys.
Penguin-Themed Crafts for Children
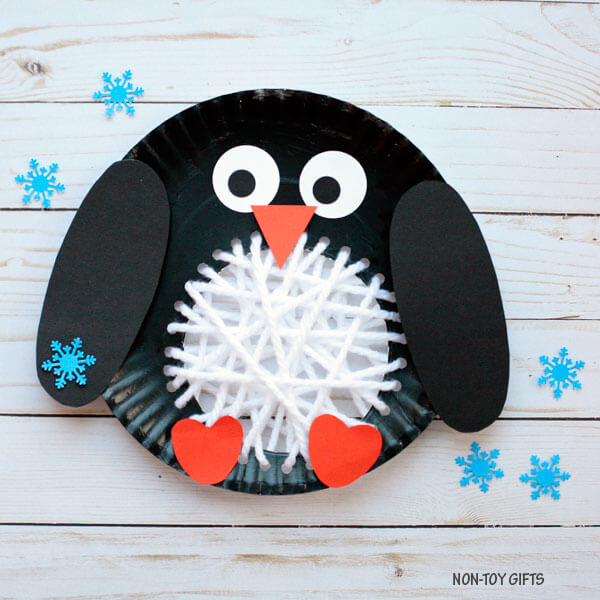
Penguin crafts offer a delightful way for kids to explore creativity. These charming projects use accessible supplies, teaching about wildlife while developing fine motor skills and providing playful, artistic enjoyment.


