
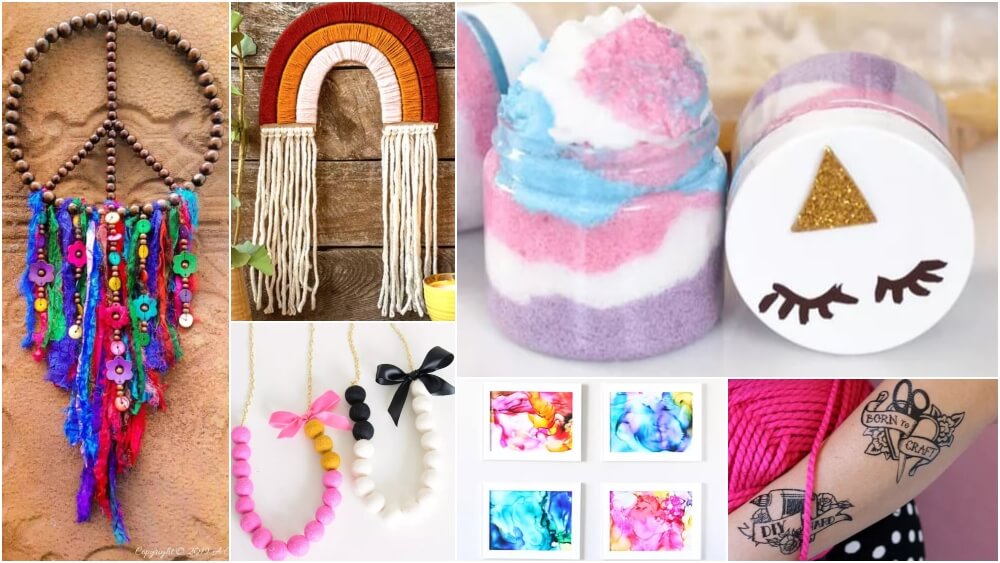
Are you looking for a fun craft to do with your kids this holiday season? These bumble DIY crafts are perfect for teens. Choose from the best 10+ easy DIY crafts for kids.
This creative DIY article is specially created for teenagers. If you’re a teen and are looking for some DIY projects, then this article is meant for you. We have discovered so many simple, less time-consuming projects for you that are too out of cheaper materials that can be available anywhere in your home. Why spend too much money when you can create a lot of stuff out of the waste materials available at home. Let’s have fun while performing these activities.
Read More: DIY Christmas Card Ideas
DIY Hanging Craft Projects For Teens

Yarn Wall Hanging

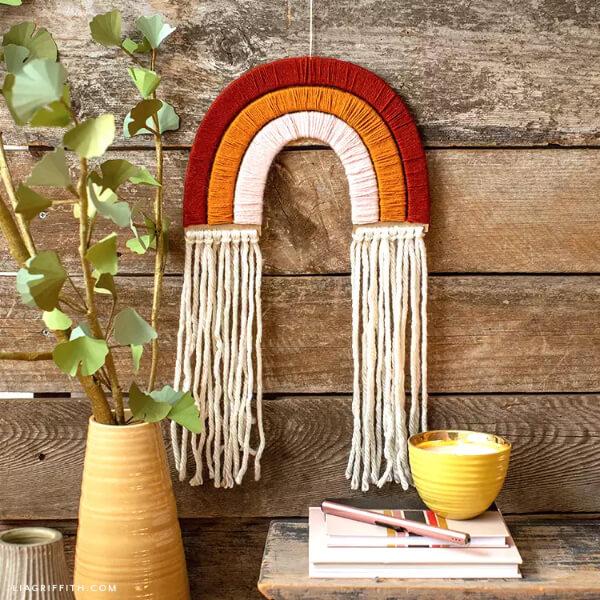
Image Source/Tutorial: Lia Griffith
Materials required:
- Cardboard piece
- Scissors
- Yarn
Difficulty level: Very Easy
Take the 3 pieces of cardboard and cut them in a U-shape. Now cover them using yarn and place them as shown in the picture. Cut two small rectangular pieces and paste yarn in the form of tassels on both ends of U . At the top hang it using thread. Your wall hanging is ready.
Photo Holding Board

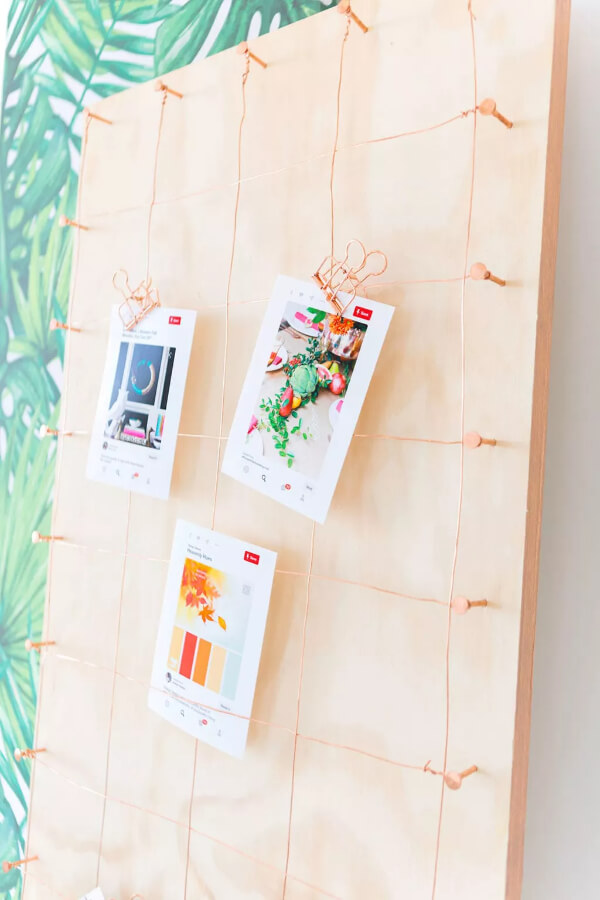
Image Source/Tutorial: Damask Love
Materials required:
- Copper wire
- Nails
- Pliers
- Plywood piece.
Difficulty level: Easy
Take a piece of plywood and hit some nails at different corners of the plywood. Now take a copper wire and using a plier place the wire properly with the nail by twisting the wire. Create small square shapes out of wire. We can use this board to hang pictures, some cute quotes, and some reminder notes. With the help of paperclips, you can hang pictures, notes, earrings, etc, and can make it your own special corner.
Tie-Dye

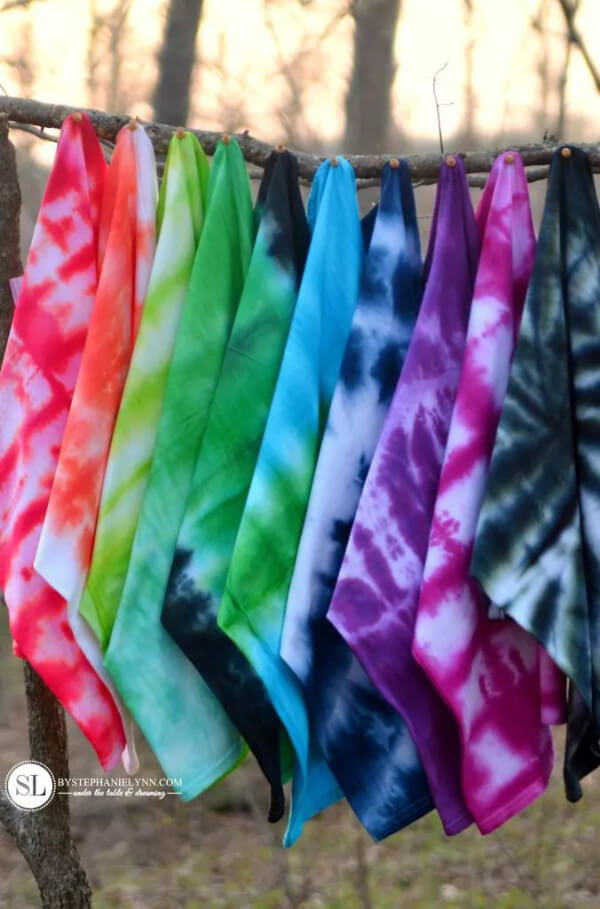
Image Source/Tutorial: By Stephanie Lynn
Materials required:
- Dye powder
- Thread
- Old T-shirt.
Difficulty level: Very Easy
Take an old t-shirt and fold it tightly by twisting it. Now take the thread and tug the thread tightly at 3 different places. Make a dye solution and dye it at the different places where the thread has been tied. Wait till it dries and then open the thread and open the t-shirt and dry it your brand new tye-dye t-shirt is ready!!.
Tattoo Fun

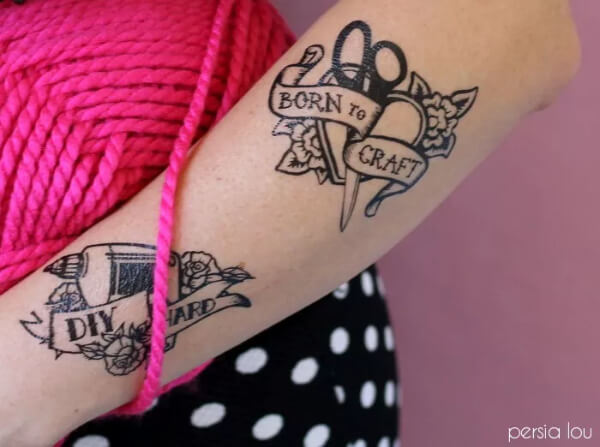
Image Source/Tutorial: Persia Lou
Materials required:
- Temporary tattoo sticker
- Tattoo designs of your choice.
Difficulty level: Easy
Tattoo is almost loved by all teens. Why don’t you get your done that too by yourself? Get the desired tattoo designs printed on a sheet. Print these designs but make sure to invert them first. Adhesive stickers should be placed over the printed sheets so that printed tattoos will be pasted on the stickers. Now paste the sticker on your hand or any other body part where you want. Pull the sticker and your temporary DIY tattoo has been printed.
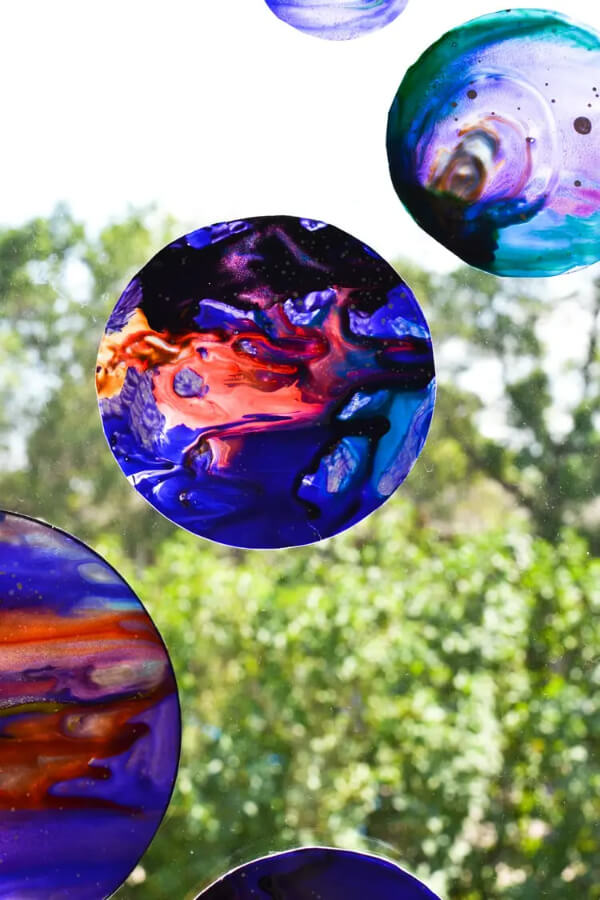
DIY Paintings

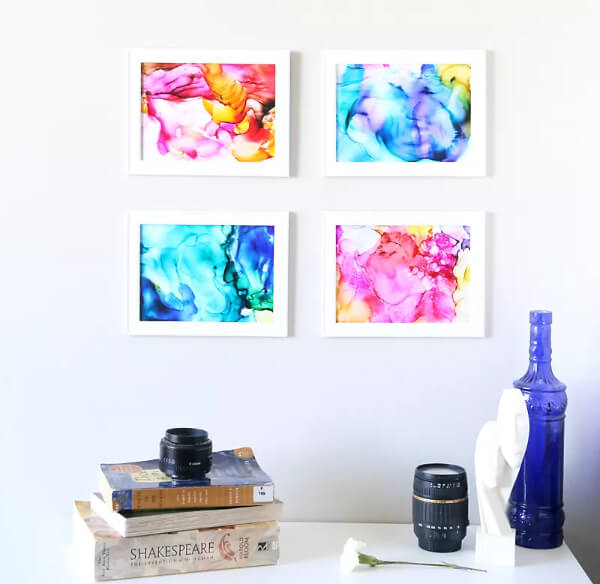
Image Source/Tutorial: It’s Always Autumn
Materials required:
- Glass
- Alcohol ink
- Rubbing alcohol
- Lighter.
Difficulty level: Easy
Take a glass sheet and stain it with some alcohol ink and rubbing alcohol. With the help of a lighter, burn the alcohol ink. Due to the burning of alcohol ink, different designs will be created automatically without any effort.
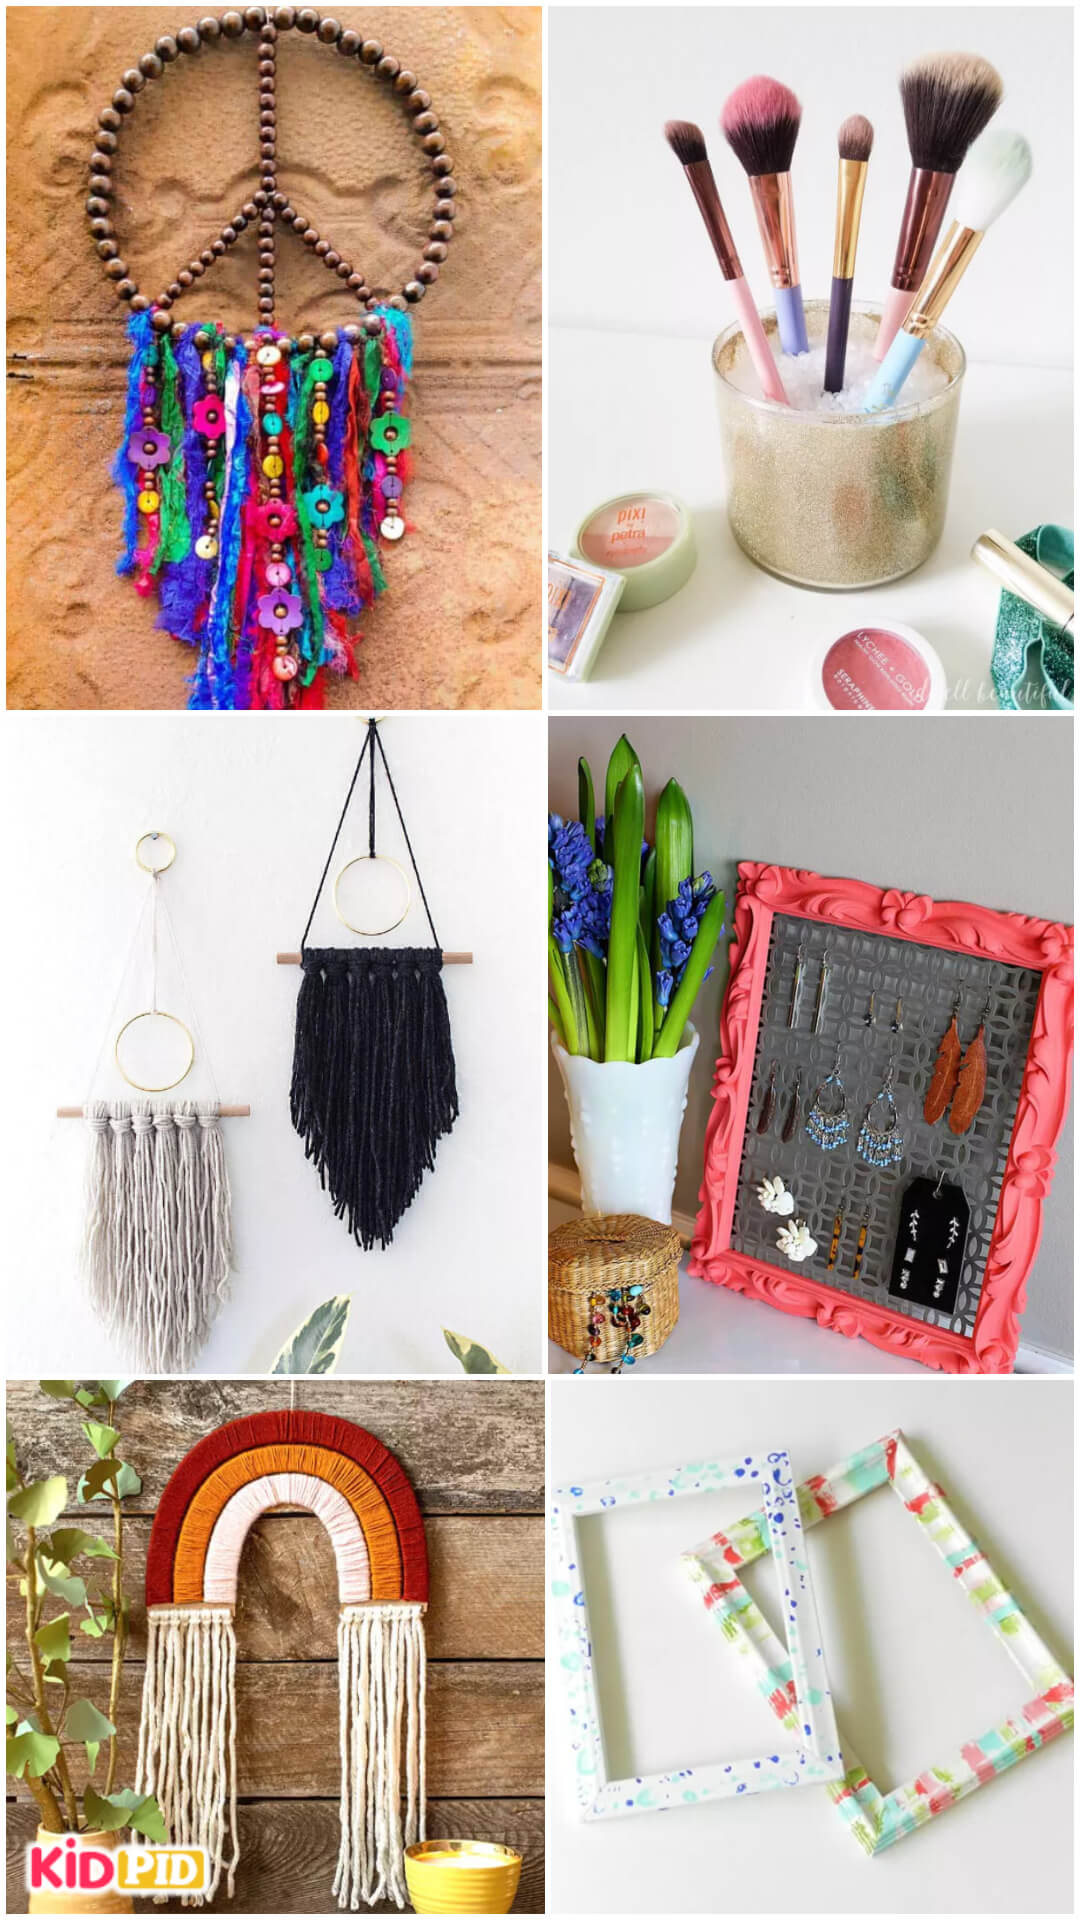
Make-Up Brushes Stand

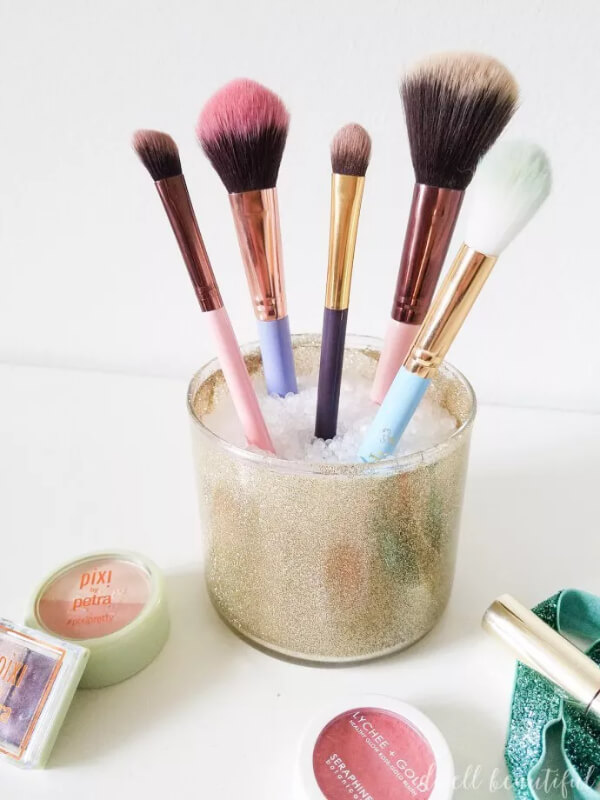
Image Source/Tutorial: Dwell Beautiful
Materials required:
- Old glass jar
- Glitter powder
- White glue
- Artificial pellets
Difficulty level: Very Easy
Get an empty glass jar and paint its walls with white glue from inside. Now take the glitter powder and stick it to the walls of the jar. Let it dry first. Once it dries, fill it with pellets that are available on the market. Now place your makeup brushes in this holder. You can also decorate it with some stickers or any decorative pieces to make it look more beautiful.
Wool Ball Neck Piece
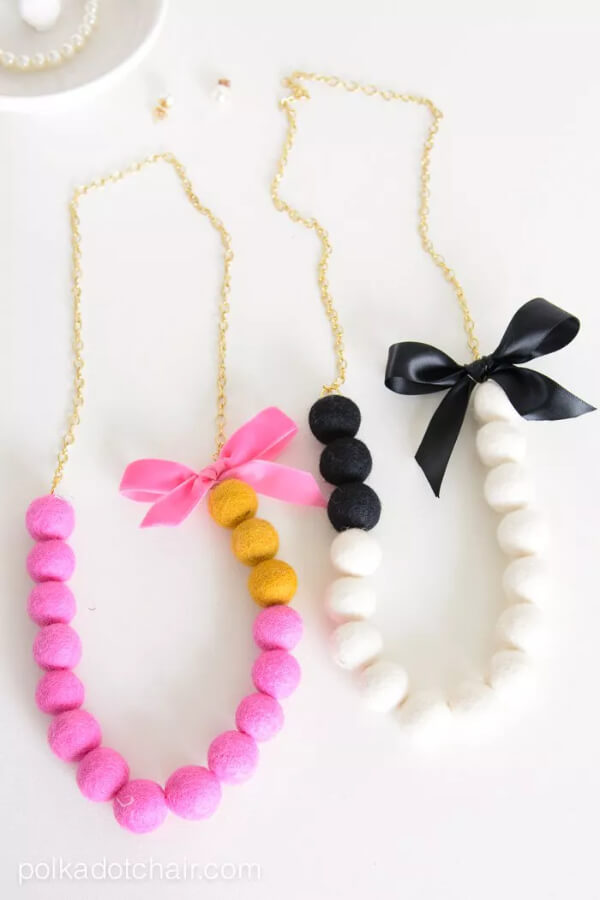
Image Source/Tutorial: Polkadot Chair
Materials required:
- Wool balls
- Jewelry chain
- Fabric glue.
Difficulty level: Easy
Join the wool balls together with the help of fabric glue. Now fix these balls with the chain on both ends. Wear it at parties or you can wear it casually.
Read More: Pipe Cleaner Crafts for Kids
Wool Ball Neck Piece

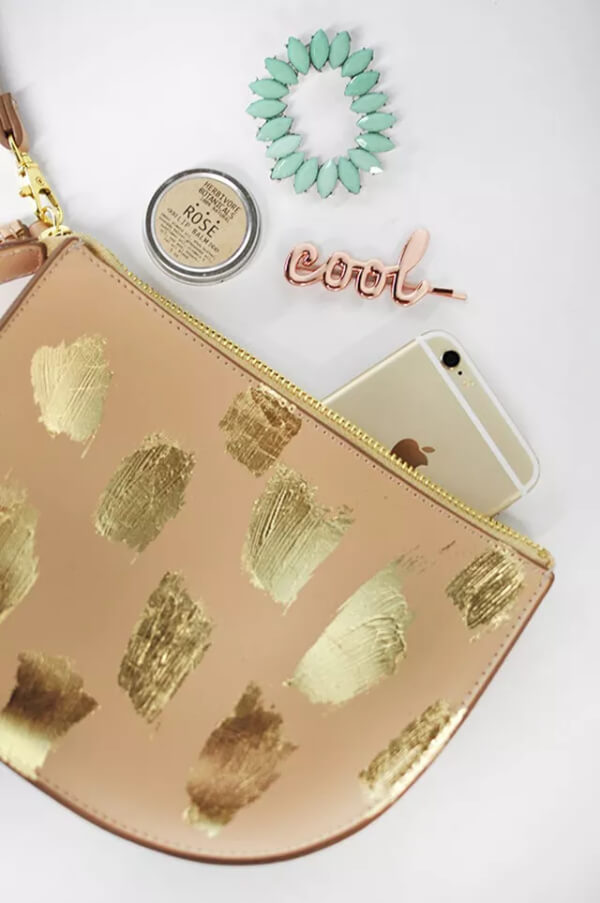
Image Source/Tutorial: Delineate Your Dwelling
Materials required:
- Pouch
- Metal glue
- Gold sheet.
Difficulty level: Very Easy
Take the pouch and with the help of a brush apply metal glue at different places. Let the glue dry. Once it dries, paste some metal sheets over it. Trim the extra metallic sheet if there is any. Now the pouch looks more beautiful than before. You can also use it for gifting purposes.
Square Coasters
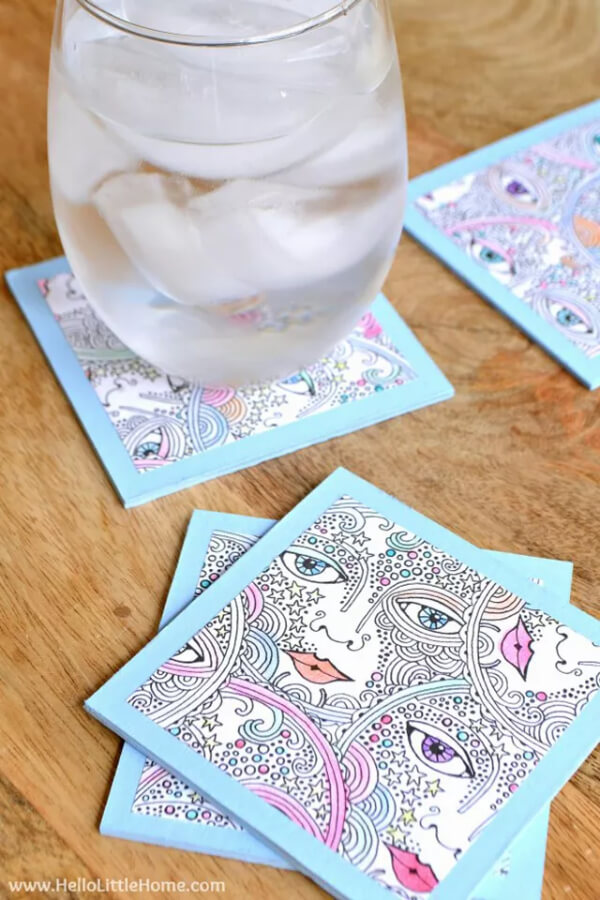
Image Source/Tutorial: Hello Little Home
Materials required:
- Hard Cardboard pieces
- Paper sheets
- Sketch pens
- Glue
- Scissors
Difficulty level: Easy
Take a sheet of paper and start doodling on it with the help of different sketch pens. Now take a hard cardboard piece and cut it into a square shape of the same dimensions. Cut the previously prepared doodled sheets the same as the size of the square Cardboard pieces. Paste these doodled sheets over the square Cardboard pieces from both the back and front sides. Coasters are ready to be placed over the glasses. Be cautious don’t spread water over them.
Earring Holder
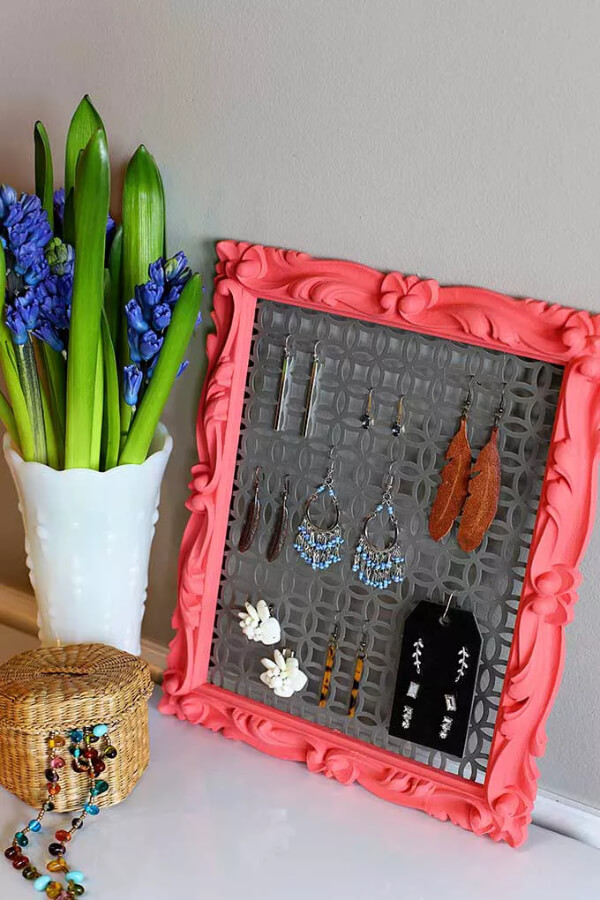
Image Source/Tutorial: House of Hawthornes
Materials required:
- Frame sheet
- Net metallic sheet
- Metallic glue
Difficulty level: Easy
Take a net metallic sheet and with the help of metallic glue fix the frame over it. Place this holder on your dressing table and hang your handlings on it. You can also paint the frame with your favorite colors to make it look more attractive.
DIY Dream Catcher

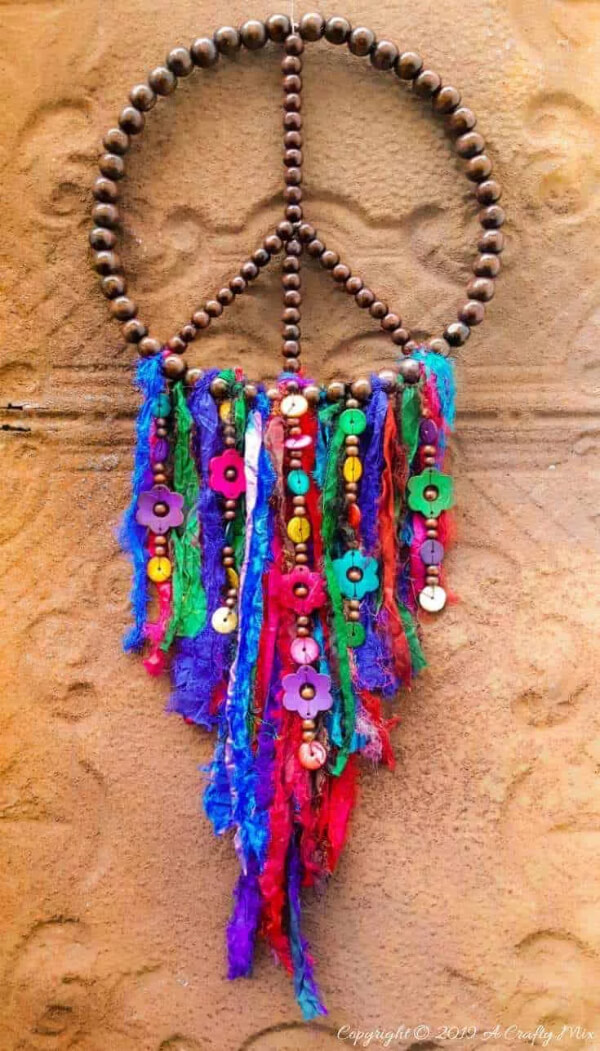
Image Source/Tutorial: A Crafty Mix
Materials required:
- Jewelry wire
- Beads
- Yarn
- Scissors
Difficulty level: Easy
Take the jewelry wire and mold it in a circular shape as shown in the image. Now pass the beads through this wire to fill the whole circle. At the lower portion hang the yarn and some beads with yarn as shown in the picture.
Diy Scrub Recipe

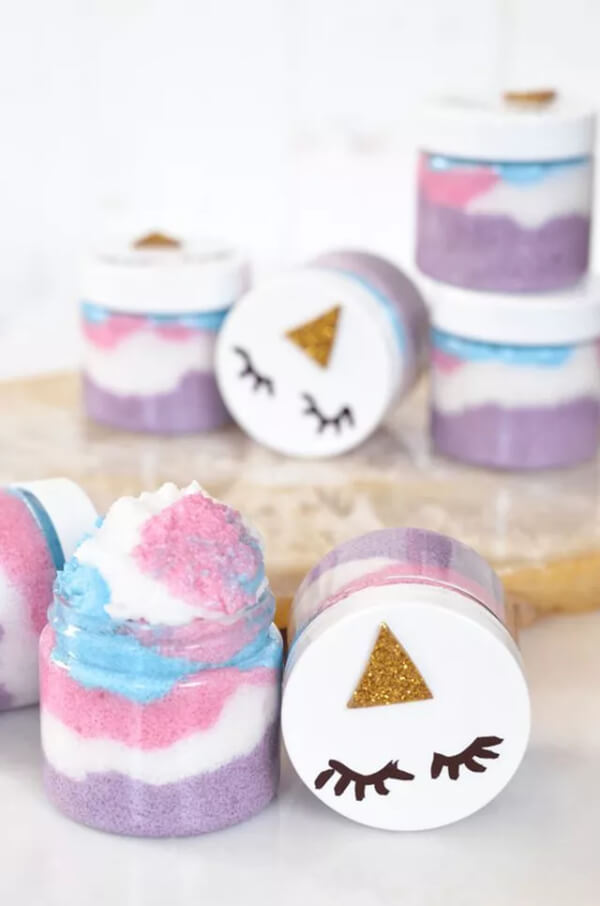
Image Source/Tutorial: A Beautiful Mess
Materials required:
- Shea butter
- Essential oil
- Sugar
- Colored mica
- Container.
Difficulty level: Very Easy
Mix Shea butter, Essential oil, and also mica for color vigorously. Transfer this mixture to an empty container and cover it with a lid. Try to use it all in a limited time as it doesn’t contain any preservatives.
Rainbow Out Of Wool

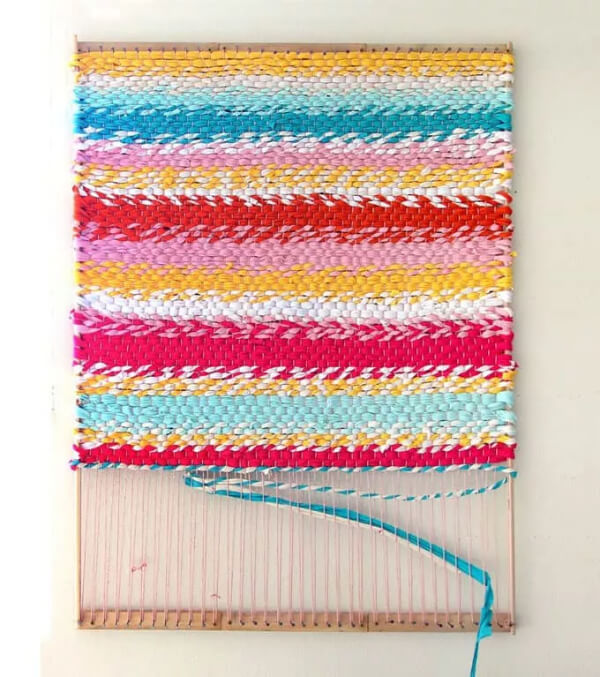
Image Source/Tutorial: A Piece of Rainbow
Materials required:
- Loom machine
- Knitting machine
- Yarn
With the help of a looming machine or knitting machine knit a rug out of it using multi-colored yarn shades. The looming machine is available on Amazon and you can buy it from there. Use the suitable frame for the loom according to the desired size you need.
Frames
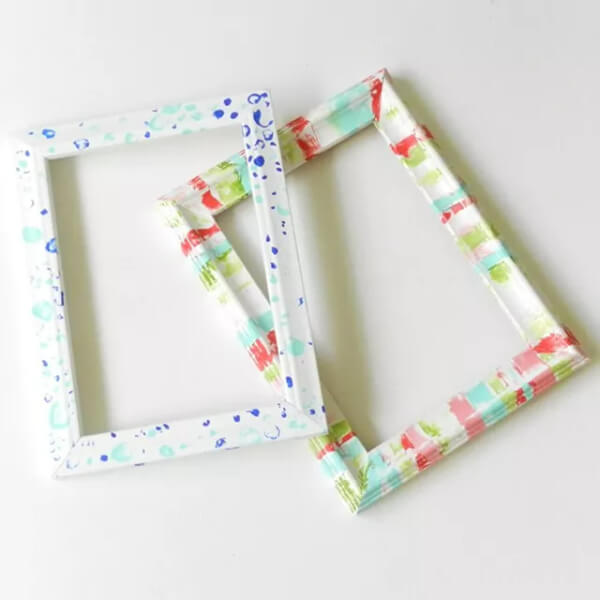
Image Source/Tutorial: Elise Engh Studios
Materials required:
- Old frames
- Acrylic paint
- Brushes
Difficulty level: Very Easy
Let’s be creative and beautify the old frames we have. Take the old frame and color it with the patterns as shown in the picture using acrylic paints with the help of brushes.
Yarn Wall Hanging

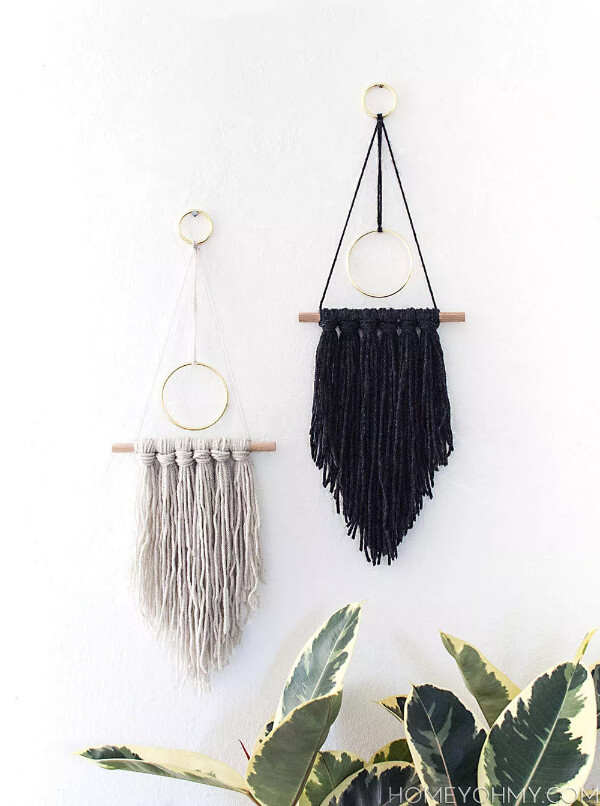
Image Source/Tutorial: Homey Oh My
Materials required:
- Yarn
- Wooden stick
- Metallic ring
- Scissors
Difficulty level: Easy
Take the yarn and cut an equal length of yarn. Now get a wooden stick and knot this yarn over it so that an equal length of the yarn is hanging on the wooden stick. With the help of scissors cut the yarn strands in V- a shape. At the top, attach a metallic ring, so that we can hang it on the wall.
I hope this article was helpful to you all, for any query do type in the comment section. If you loved this article do visit our site regularly, you will find much more articles on art and craft irrespective of age group.
You can subscribe to our YouTube channel for more amazing learning tutorials. Keep reading with several other art and craft ideas and learn new things.
You may like these:
Space-Themed Crafts for Children

Spacecrafts inspire curiosity about the universe. These engaging projects use simple materials to create rockets, planets, and stars, fostering creativity, imagination, and a love for science and exploration in young minds.
Simple Painting Techniques Suitable for Kids
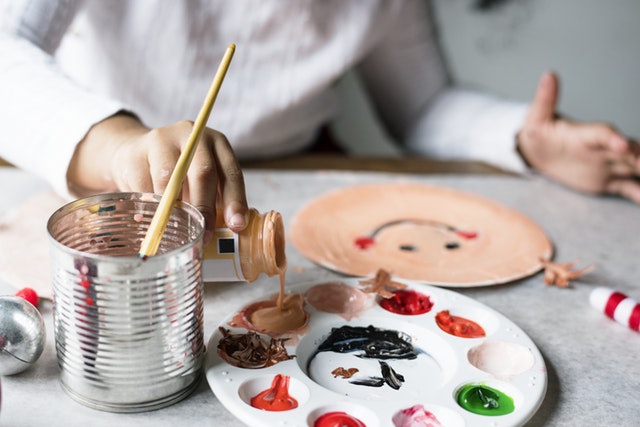

Easy painting techniques introduce children to art in a fun way. These methods encourage self-expression, enhance fine motor skills, and allow kids to experiment with colors, patterns, and textures creatively.
Fingerprint Art and Craft Activities for Children
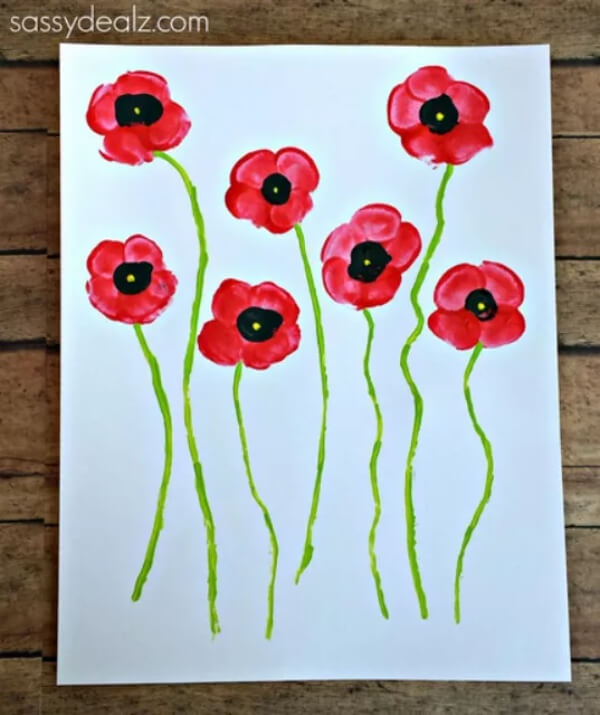

Fingerprint art combines simplicity and creativity, using unique prints to craft animals, flowers, or scenes. This activity enhances fine motor skills, encourages imagination, and creates personalized keepsakes for kids and families.
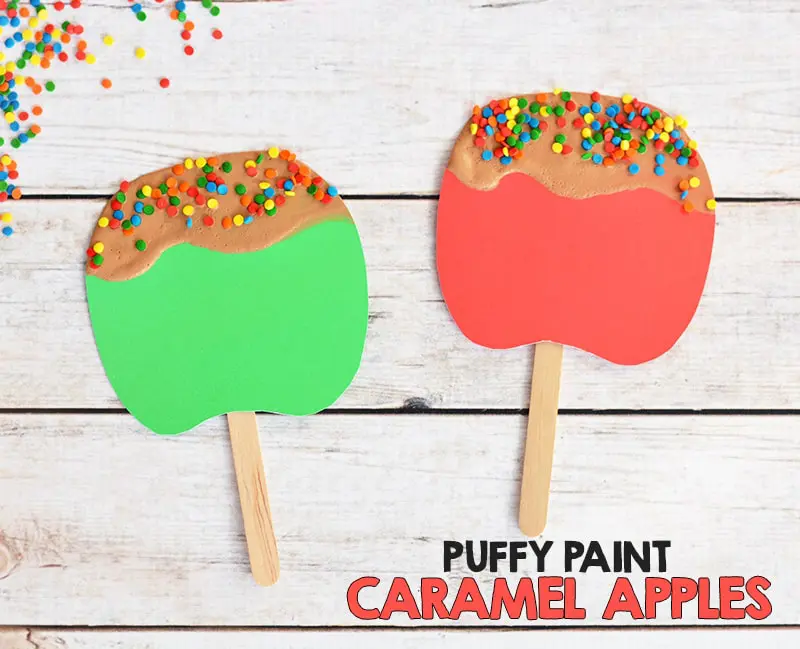
Easy Fruit-Inspired Crafts for Kids
Fruit crafts engage children with vibrant, playful designs. Using simple materials, these projects celebrate nature’s bounty, encouraging creativity, healthy eating awareness, and hands-on learning through colorful and enjoyable artistic activities.
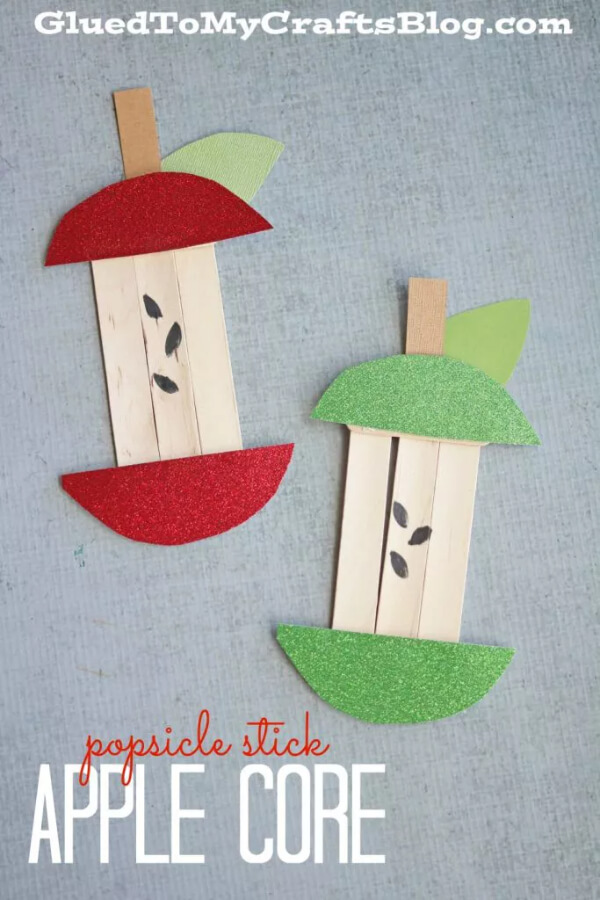
Simple Apple-Themed Craft Ideas for Children

Apple crafts offer a fun, seasonal way to celebrate autumn. These easy projects use accessible materials to create art, decorations, or learning tools, fostering creativity and enhancing fine motor skills in children.


